Effortlessly confirm orders with Shopify + Chatfuel automation for WhatsApp
Discover how to automate order confirmations in WhatsApp to improve the post-purchase customer experience.
The order confirmation message is an often underestimated touchpoint. Meanwhile, it’s a simple opportunity to increase customer loyalty and encourage them to come back for more purchases.
Here's how merchants can unintentionally ruin the post-purchase experience:
Send delayed order confirmations or don’t send them at all leaving customers feeling uncertain after placing an order.
Communicate via inefficient communication channels like email which customers might not check frequently.
To eliminate these factors negatively affecting buyer experience you can send automated order confirmations via WhatsApp.
Your gains from automated order confirmations
Higher customer satisfaction and reduced post-purchase anxiety due to instant order confirmation via WhatsApp.
Enhanced customer engagement in the messenger that customers frequently use and check.
Increased trust and transparency due to real-time updates on order processing and shipping.
Reduced customer service queries related to order confirmation and status.
Opportunities for additional sales by suggesting related products or offering discounts on future purchases.
Build long-term customer relationships and encourage customers to repeat business by keeping them informed and engaged.
Want to grab this easy win? Read on to learn how to set up automated order confirmations in 2 steps.
Before you start, make sure you’ve connected your Shopify store to Chatfuel and set up your checkout page. Otherwise, you won’t be able to send any notifications.
2 steps to automate order confirmation notifications
Step 1. Create a message template in WhatsApp Manager
Open WhatsApp Manager and click on Manage message templates. You'll be redirected to Message templates.

Click Create Template, choose Utility as your category, type a name for your template and choose its language, and then click Continue.
Add content to your template (learn more about adding content here). There are four types of fields: Header, Body, Footer, and Buttons. Body is the only required field.
At this step, you can add some variables to personalize buyer experience. These variables may include name, order ID, or delivery date or address.
Click Submit to send your template for review. The Meta team will review your template and either approve or reject it within 24 hours. You can check the status of your template in the templates list.
Step 2. Create a notification (reengage message) in Chatfuel
After your template is approved, you can start sending WhatsApp notifications to your Shopify customers.
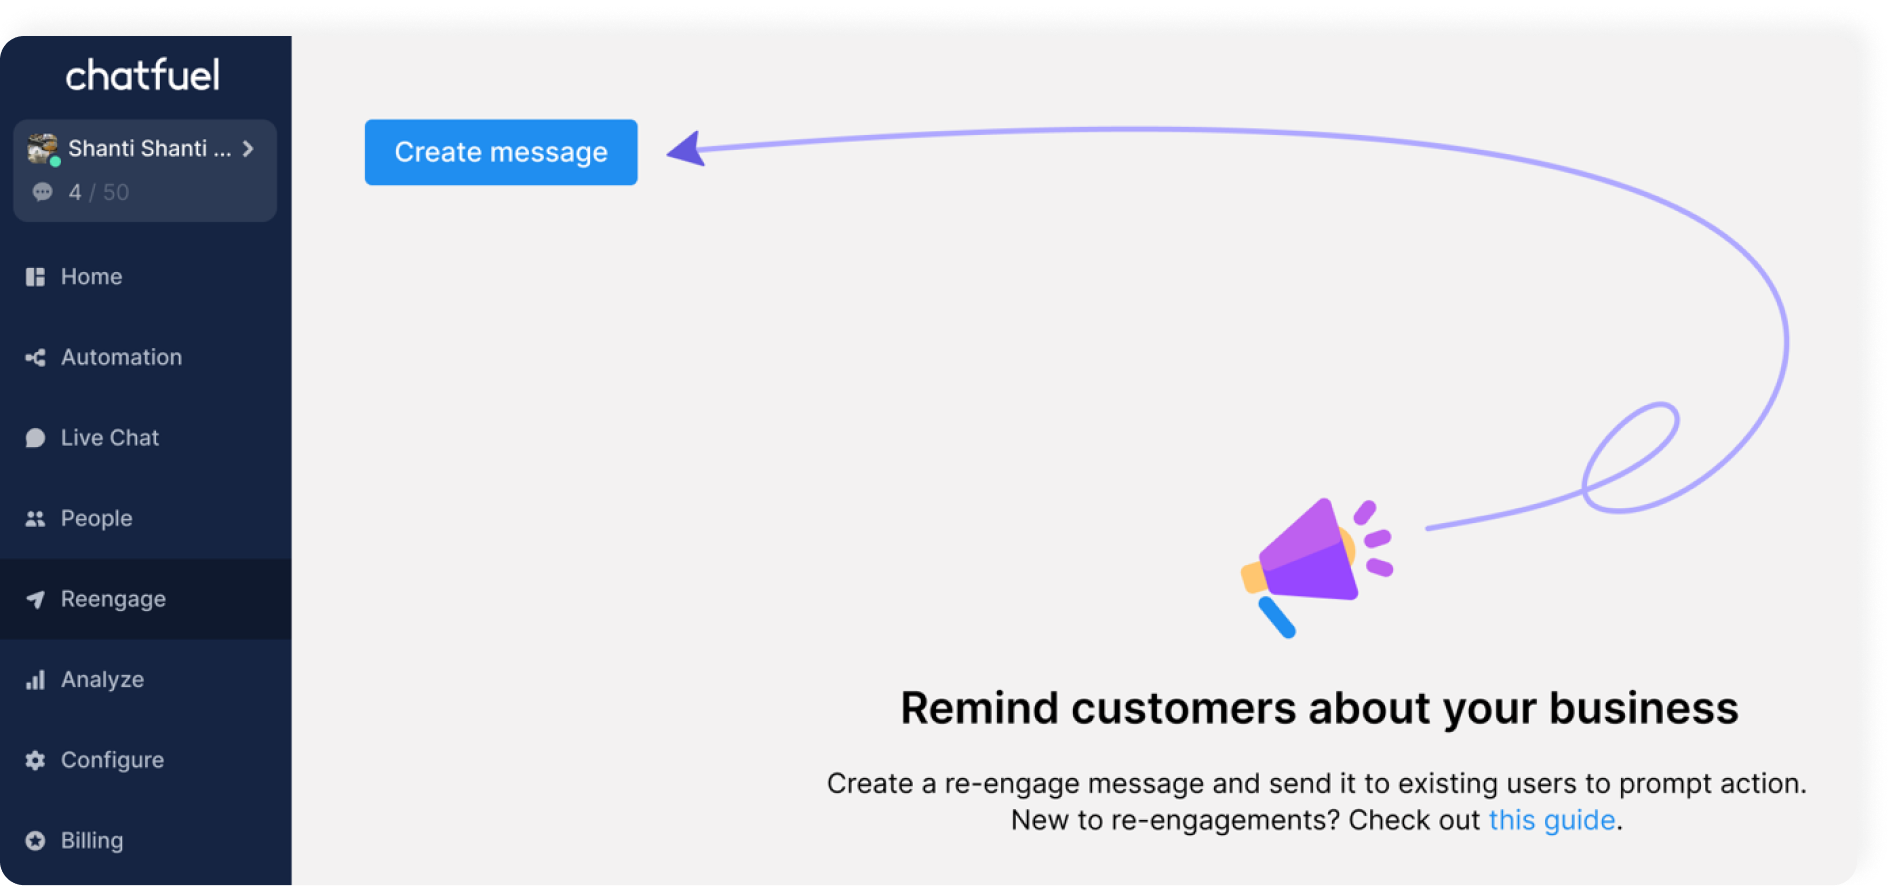
Open the dashboard, go to the Reengage tab, and click Create message.

Choose a WhatsApp template you created in step 1 and click Next.
Add a name and choose the following settings:
Send – after a trigger
Trigger – confirmed order
Send in – set to your liking
Finally, click on the template block to open Attribute mapping settings. Type in attributes to match the variables you specified in the message template.
Click Set live to start sending your customers WhatsApp notifications about their order confirmations.
That's it! Now, your customers will automatically receive notifications when their orders are confirmed.
For more details, please refer to our complete guide on order confirmation notifications.
